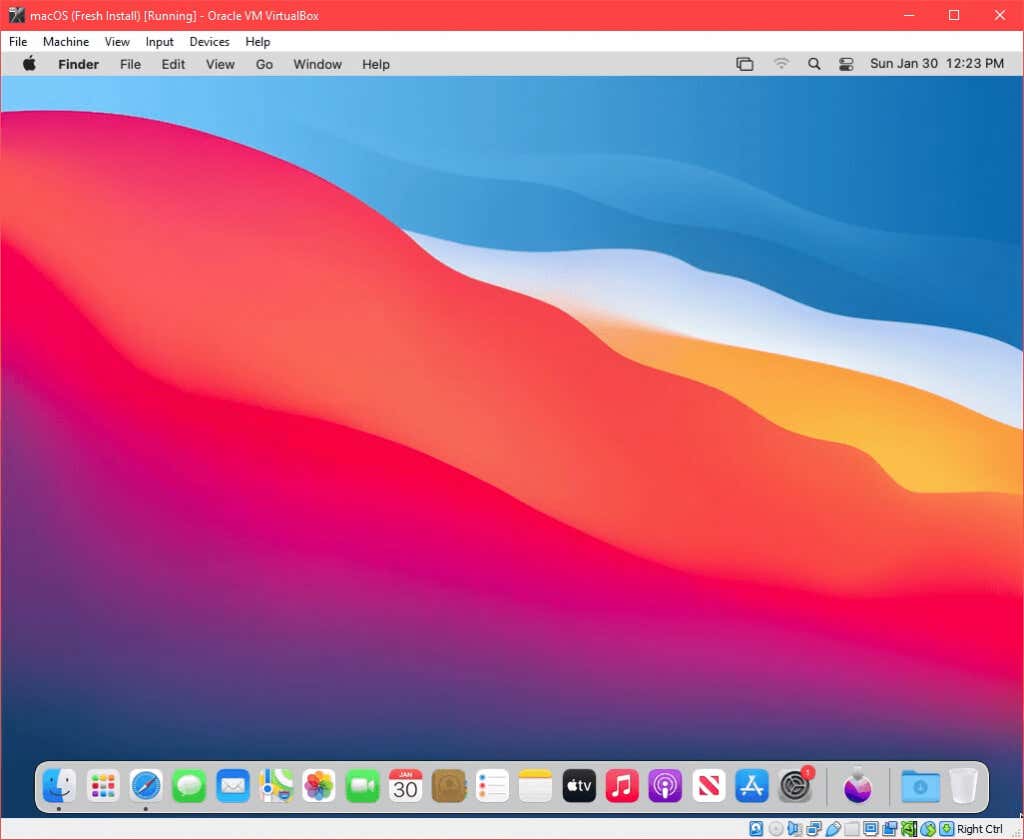
Can I Run macOS on Windows?
If you’re a Windows power user, you know you can run Linux or other versions of Windows within Hyper-V. If you’re a Mac power user, you know you can run Windows on a Mac with Boot Camp, or a virtual machine like VMWare Fusion, Parallels, or VirtualBox. But, can you run a macOS on Windows? You could run macOS on VMWare in Windows, but using VirtualBox is free. You can install macOS in VirtualBox on Windows if you have:
A legally obtained copy of a macOSAt least 2 GB of spare RAMA 64-bit based CPU with at least 4 logical CPUsAdministrator access on the PC
Fortunately, many computers today exceed the minimum hardware requirements.
Get a Copy of macOS
Open the Apple App Store and download a copy of BigSur. It’s an entire operating system, so it’s a large download. Make sure you’ve got the space and time to download it. If you don’t have access to download macOS BigSur from the App Store, we don’t recommend using other versions found on the internet, for security reasons.
Install VirtualBox on Windows
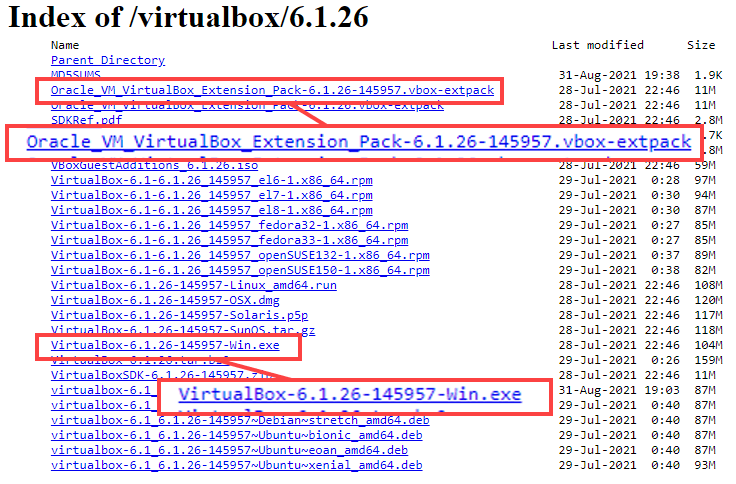
The newest version of VirtualBox that this process appears to work with is VirtualBox v6.1.26. Go to the VirtualBox 6.1.26 download site and select VirtualBox-6.1.26-145957-Win.exe. Also select the VirtualBox Extension pack Oracle_VM_VirtualBox_Extension_Pack-6.1.26-145957.vbox-extpack.
Create a Virtual Machine In VirtualBox
Think of creating a virtual machine as building a computer inside your computer. This gives macOS its own place to install to and allocates the resources it needs to work. Select the DVD icon next to the Optical Drive field. Then select Choose a disk file. Navigate to where you stored the macOS .iso download and select it. Select OK to continue. If you installed VirtualBox to a location different from what’s shown in the first line, edit the first line to match. In the remaining lines, change Your Virtual Machine Name to macOS, the name you gave this VM.
Install macOS Big Sur
Change the Resolution of the macOS Virtual Machine
If you prefer greater resolution than the VirtualBox default, you can do that too. VBoxManage setextradata “macOS” VBoxInternal2/EfiGraphicsResolution 1920×1080 The last part of the command, 1920×1080 is the resolution. It can be changed to any of 1280×720, 1920×1080, 2560×1440, 2048×1080, 3840×2160, 5120×2880, or 7680×4320 supported resolutions. Some may not work for you though. After the command completes, restart VirtualBox and your macOS VM to make sure the change works.
Tips on Using macOS in VirtualBox
During the install, if you see a circle-slash like a no parking sign, the installation isn’t going to work. Shut the machine down as there’s no sense waiting. Again, check to ensure that you applied the VirtualBox codes correctly. Completely close VirtualBox and reapply them if needed. If that doesn’t work, change the VM settings to use less RAM or CPUs. Sometimes the PC can’t keep up with a higher setting. Once the install is complete, you can change the VM settings to use more RAM or CPUs to increase the performance, as long as you’re not doing anything else on the host PC. Enjoy your new macOS virtual machine!


